
A carrier-locked iPhone can be a headache if you don’t know how to unlock it or simply can’t figure out what’s wrong. Usually, paying off a device makes it free to use with any operator again. However, there are countless cases of glitches that result in devices being blacklisted or carrier-locked regardless.
In this article, we will take an in-depth look at the steps you should follow to get your iPhone carrier unlocked for free. We will also explore a paid alternative that could save you hours of time and a steep learning curve.
It offers a safe, quick solution to remove carrier locks, Apple ID, and screen passcodes with just a few clicks.
Part 1. Understanding iPhone Carrier Lock
A SIM carrier lock prevents you from using SIM cards from any other provider than the one you’re using at the moment. This is usually implemented by the original manufacturer of the phone to ensure that customers remain with the specific brand. Attempting to use a SIM from another brand will result in an error message.
How to check if your iPhone is locked
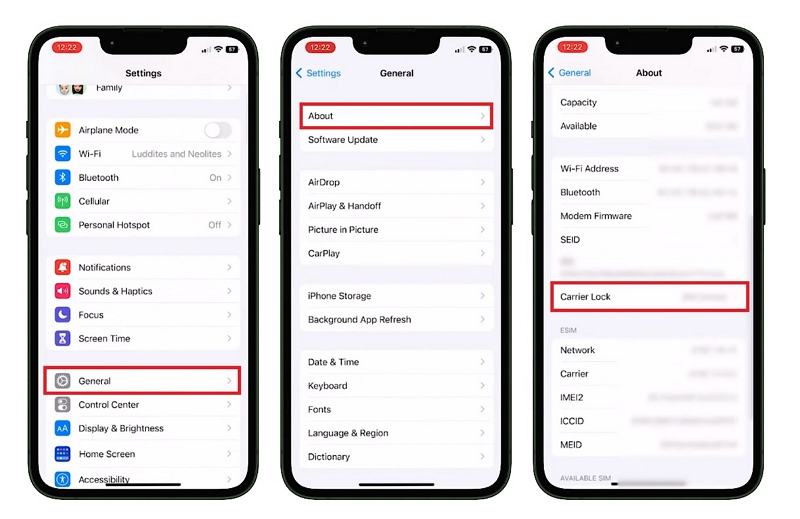
Checking whether your iPhone is locked is very simple. You only need to follow a few steps to check whether your phone is carrier locked:
Step 1: Go to Settings, and then General.
Step 2: Tap ‘carrier lock,’ and check the message displayed. If it shows ‘No SIM restrictions,’ then your phone is unlocked. However, if you see the name of a network, it is that one.
Part 2: What is Jailbreaking and Why It Matters for Carrier Unlock
Jailbreaking an iPhone means removing Apple’s software restrictions to gain root access to iOS. In simple terms, it allows you to install apps, tweaks, and themes that aren’t available on the official App Store. Many users jailbreak to:
- Customize the iPhone interface with themes, widgets, and keyboard shortcuts
- Install third-party apps or tweaks unavailable in the App Store
- Bypass certain carrier restrictions or region limitations
- Gain more control over system-level settings
Essentially, jailbreaking gives your device more freedom while bypassing Apple’s closed ecosystem—but it doesn’t automatically remove carrier locks. Instead, it allows you to use tools or apps that can handle carrier unlocking.
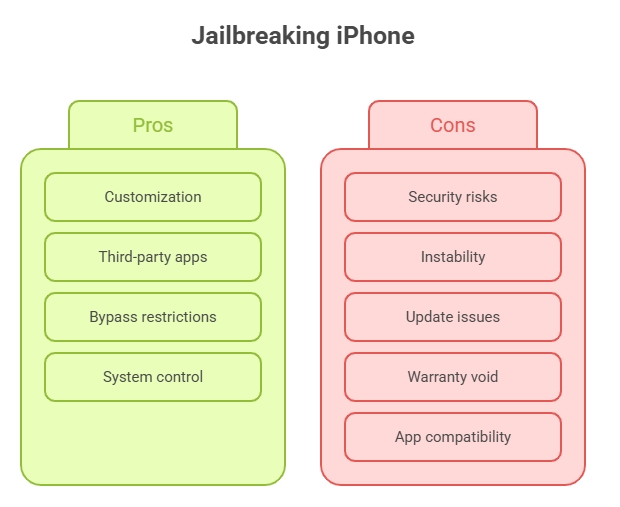
Risks and Limitations of Jailbreaking iPhone
While jailbreaking can unlock new features, it carries potential risks, especially if done manually or with outdated tools:
- Security vulnerabilities – Your device can become more exposed to malware or hacking
- System instability – Unverified tweaks may cause crashes or battery issues
- iOS updates blocked – Manual jailbreaks can complicate normal updates
- Warranty considerations – Apple may not cover jailbroken devices
Even with a safe jailbreak, some limitations remain:
- Not all apps (banking, streaming) may work
- Community-developed tweaks have limited support
- Updating iOS usually removes the jailbreak
Pro Tips: Using a trusted tool like Passixer can significantly reduce these risks by automating the process safely, without complicated manual steps.
Why Jailbreak to Unlock Carrier?
Jailbreaking itself doesn’t bypass carrier restrictions, but it enables tools that can remove SIM locks. Benefits of jailbreaking before unlocking include:
- Downloading third-party apps capable of unlocking carrier restrictions
- Customizing your iPhone with themes, animations, and system tweaks
- Using enhanced security tools like No2Theft for alarms and theft protection
- Removing unnecessary pre-installed apps to free up storage
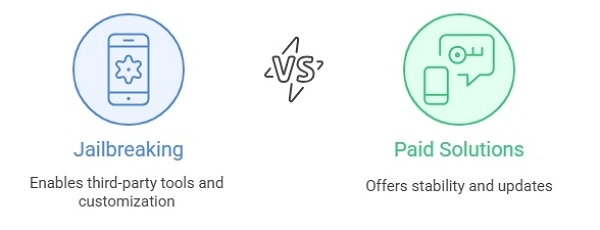
However, not all iPhones need to be jailbroken. Many modern devices become carrier-unlocked automatically once paid off. In such cases, it’s safer to avoid jailbreaking and use a reliable paid solution like Passixer to unlock your iPhone efficiently while preserving system stability and updates.
Part 3. Step-by-Step Jailbreak iPhone to Unlock Carrier (Free Methods)
In this section, we’ll be looking at the specific steps you should follow to jailbreak your iPhone and make it carrier-unlocked.
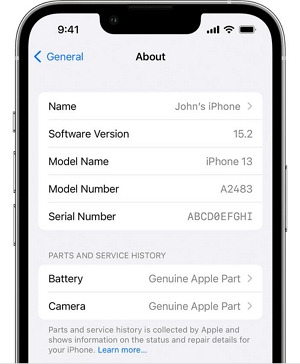
Step 1. The first step is to check your iPhone compatibility and iOS version. To do so, head to Settings> General> About. Here, you’ll see the iOS version.
Step 2. The next step is to back up your iPhone data. To back up your data to iCloud, go to Settings > [your name] > iCloud > iCloud Backup. Then, turn on Backup This iPhone and perform a manual backup by tapping Back Up Now.
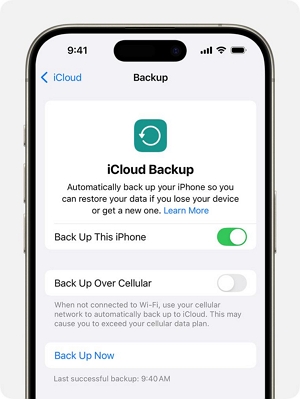
Your data will be backed up daily if your phone is connected to WiFi. However, it is a good idea to perform a manual backup before jailbreaking the device.
Step 3. Now, it is time to disable Find My iPhone and Passcode. First, here is how to disable Find My iPhone:
- Go to Settings> [your name] > Find My iPhone. Then, turn off the option by tapping Find My iPhone.
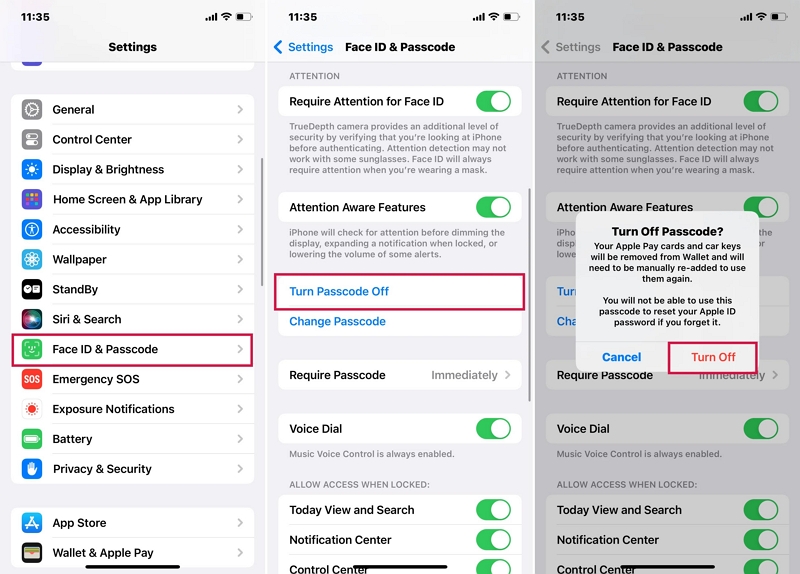
- To turn off the Passcode, go to Settings > Face ID & Passcode > Tap Turn Passcode Off. Note that you will have to enter your current passcode to turn the option off.
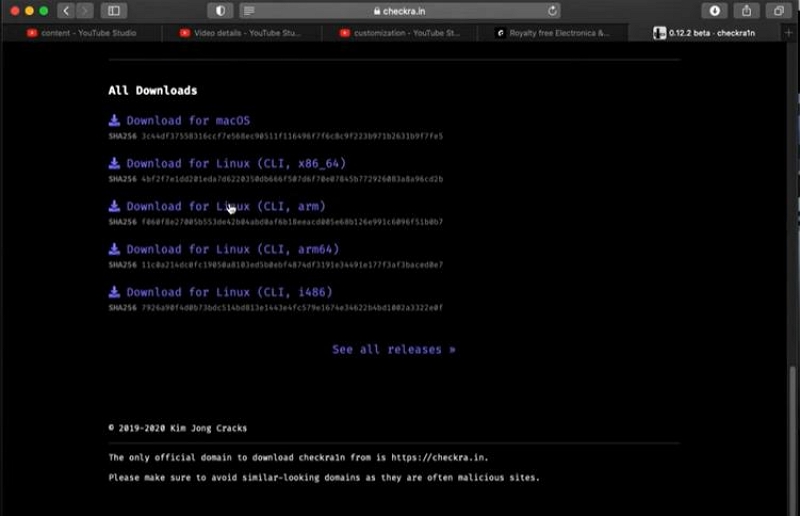
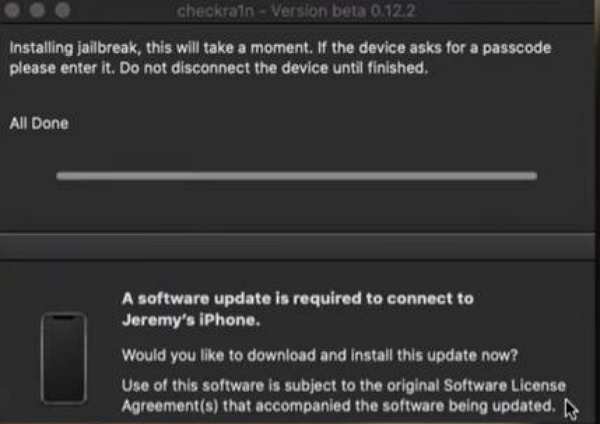
Step 4. Download and install a trusted jailbreak tool. Here are some commonly used free options:
- Checkra1n (Supports some older models of devices)
- Taurine (Supports iOS 14-15)
- Unc0ver (Supports newer devices)
Step 5. Jailbreak Your iPhone
After backing up your data and downloading a trusted jailbreak tool, it is time to execute the process. First, connect your iPhone to your computer. MacOS, Windows, and Linux are all supported, based on the tool that you’re using. Now:
- Make your phone enter DFU or recovery mode by following the instructions to use the jailbreak tool you’ve downloaded.
- Click on ‘Start’ or ‘Jailbreak’ to begin the process, and let the tool do its work.
- Your phone should restart, and you will see a message telling you that the process is complete. To confirm, you can check that a jailbreak store like Cydia or Sileo has been installed on the iPhone.

Step 6. Install Carrier Unlock Tweaks or Apps
After the jailbreak is complete, you will be able to install apps that the Apple App Store would not normally allow. Search for a free carrier unlock tool, such as Subscriber Artificial Module (SAM), in the jailbreak store that was installed on your device after the process.
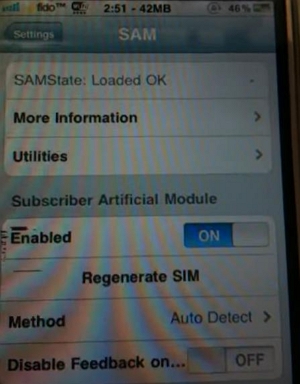
After installing the tool, you need to configure the tool and follow the steps shown on the iPhone screen to unlock the carrier. Note that you might need to insert the SIM card information during the process. If you have followed the steps correctly, the phone should be unlocked and will be able to recognize and use SIM cards from all operators.
Step 7. Test your jailbroken iPhone for carrier locks.
Once all the aforementioned steps are complete, restart your phone and insert a SIM card from a different operator. Once the phone is powered up again, test it by trying to send a text message and turning on mobile data. Check if these features are working properly by trying to use various apps.
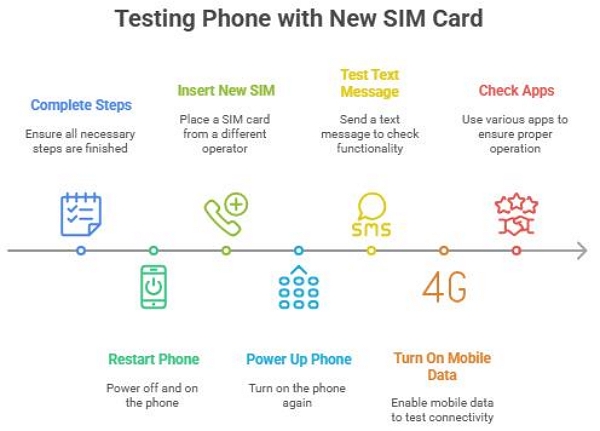
If you run into signal issues or activation barriers, reset the network settings, and your phone should work normally.
Troubleshooting Common Issues
Unfortunately, despite the in-depth steps mentioned above, it isn’t always as straightforward to jailbreak an iPhone. A lot of users run into some common issues, and in this section, we’ll take a look at some of the solutions to these recurring problems:
- Jailbreaking process fails: In this situation, recheck the iOS version and device compatibility with the tool that you are using. Consider using a different jailbreaking tool or a different computer, and retry.
- Device gets stuck at boot screen: If your device freezes, enter recovery mode and reboot to see if it works properly.
- SIM card not recognized: If the phone still doesn’t recognize a different carrier’s SIM card, reinstall and rerun the unlock plugin. Then, restart the device and try again.
- For an issue not mentioned above, refer to the many jailbreaking communities and troubleshooting forums, and you will be able to find a solution to your specific issue.
Part 4. Best Alternative Tools to Jailbreak & Unlock iPhone Easily
Unfortunately, using these free tools can be quite daunting since there is little reliability when it comes to the download source. You’ll never know for sure whether you’re downloading the right file. Moreover, you’ll need a bit of technical knowledge to navigate through the process, which can be quite complex in some cases. The better solution is to use a dedicated jailbreak tool, which unlocks your iPhone’s carrier in just a few simple steps.
Passixer iPhone Unlocker is one of the best alternatives on the market to ensure that you regain access to your device and can use any carrier. Here are some of its key features that set it apart from the competition:
When to consider paid options:
1. Clean IMEI, but still unable to unlock your device with free jailbreak tools.
2. Your device is still under warranty, and you want to unlock the carrier without voiding your warranty.
3. If you’re on the carrier’s blacklist, rendering other methods useless.
4. You’re not very technically savvy and find it difficult to follow complex steps.
5. You want to unlock your device permanently.
If you find that the jailbreaking process with free tools didn’t work, or if your phone is unresponsive or stuck in a loop, using a paid solution can save you hours of troubleshooting to no avail.
Here is a step-by-step guide to using Passixer iPhone Unlocker to illustrate how easy it is to unlock your iPhone carrier:
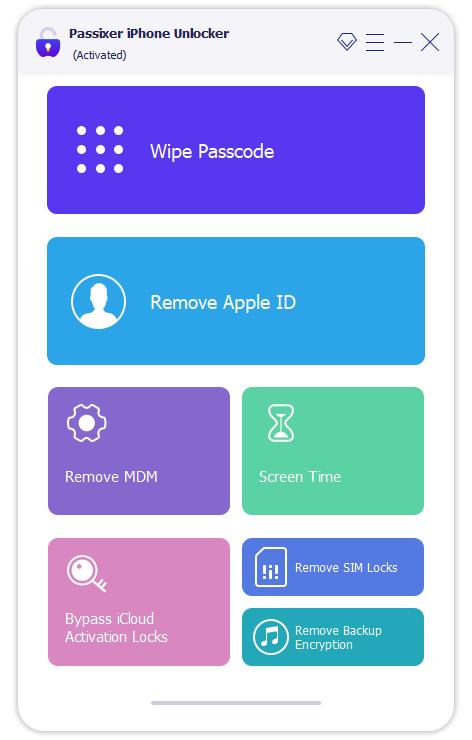
Step 1. Download and install Passixer iPhone Unlocker, and then select Remove SIM Lock from the Passixer Main Screen.
Step 2. Use a USB Cable to Connect Your iPhone to the Computer.
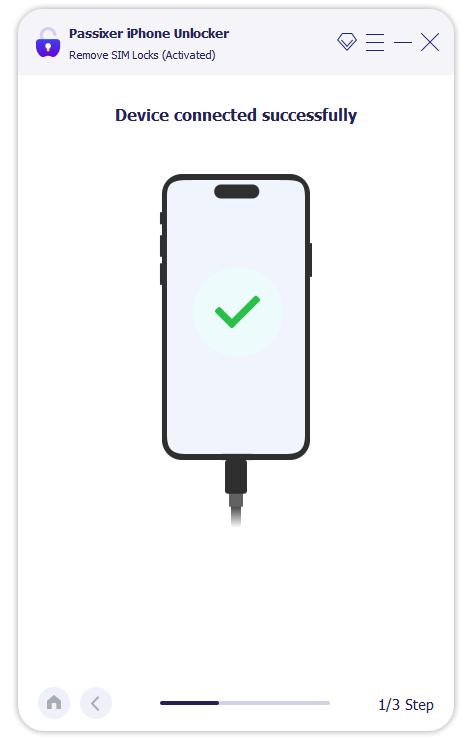
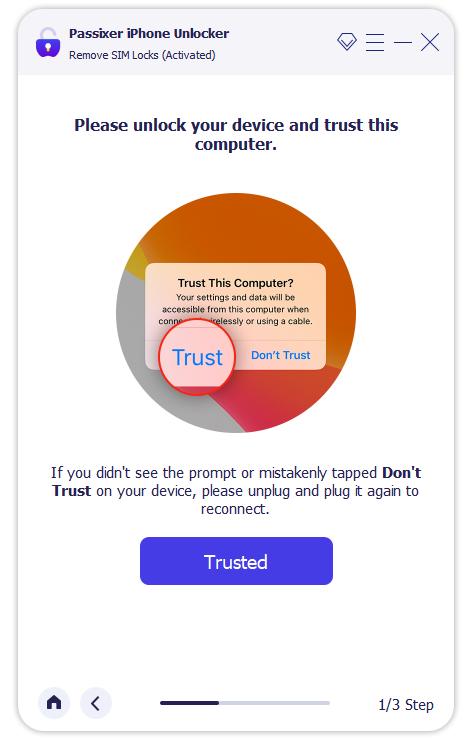
Step 3. Unlock your iPhone and tap Trusted on the pop-up dialog that appears after connecting your device. The tool will now check the configuration status of your device.
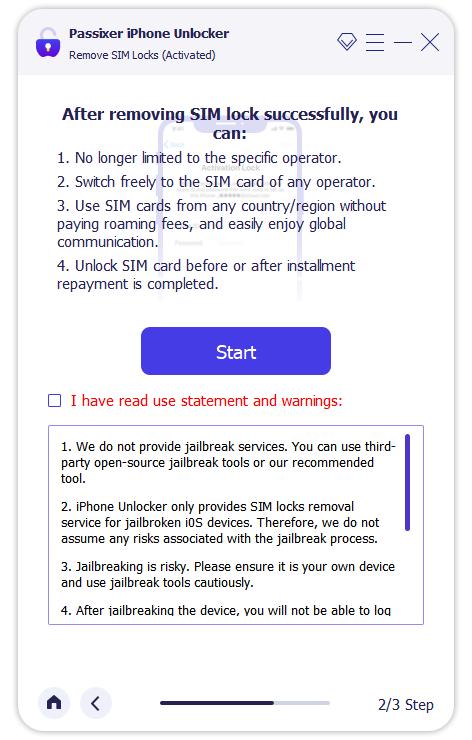
Step 4. Jailbreak your iPhone by following the on-screen guide.
Click Start and choose iOS Jailbreak Tutorial, then follow the detailed steps to jailbreak your iPhone. After completing the steps, click Next to proceed.
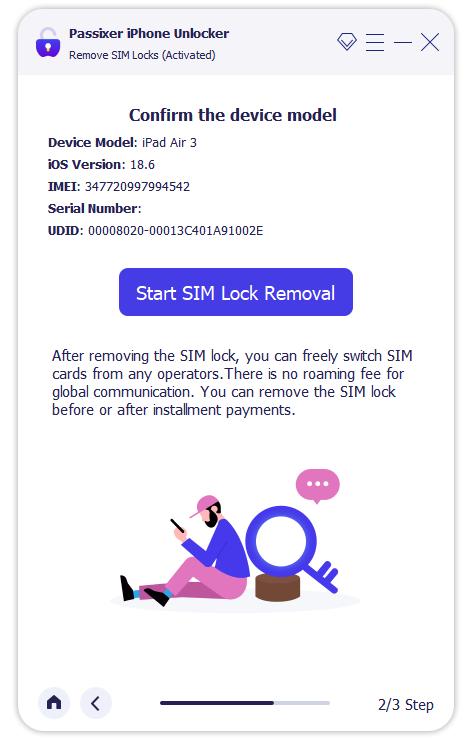
Step 5. Once the jailbreak process is complete, Passixer will detect your iPhone and display the device details. Confirm and click Start SIM Lock Removal.
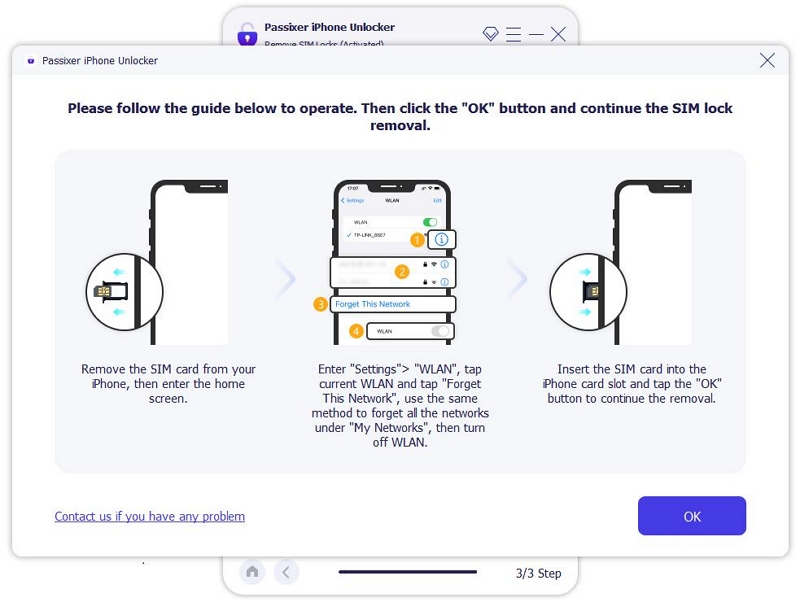
Step 6. Remove the SIM card from the phone and erase all Wi-Fi networks from the device, and disable Wi-Fi.
Step 7. After disconnecting all Wi-Fi networks and turning off Wi-Fi, the SIM lock removal process will start immediately.
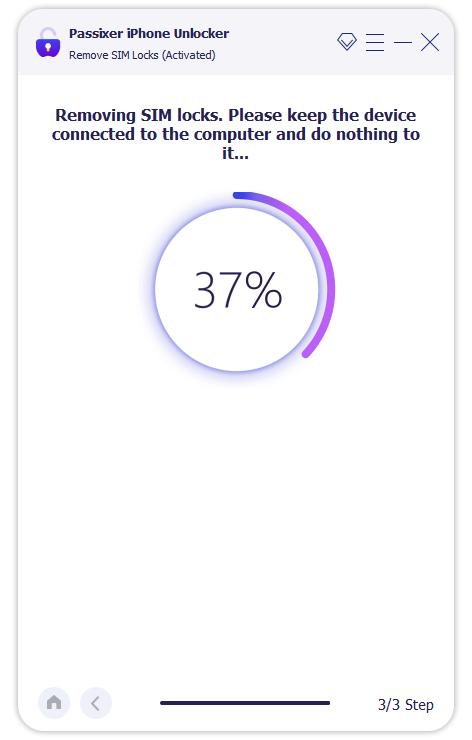
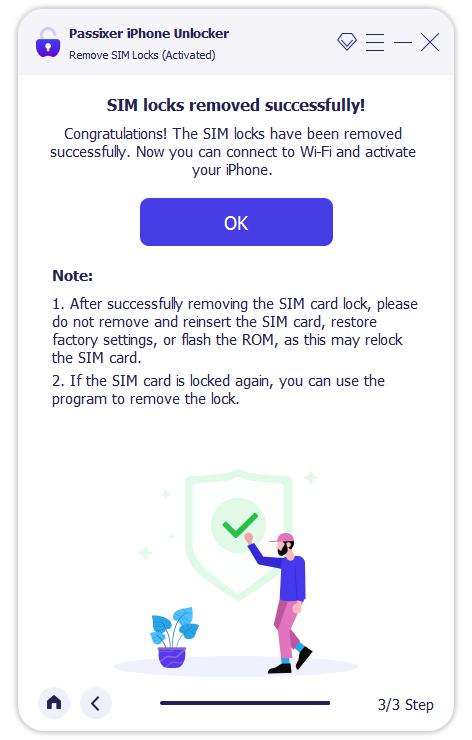
Step 8. Wait till the tool removes the SIM lock, and ensure that you do not interfere by letting the phone sit idle. Once the process is complete, you will get a message saying you can connect to WiFi and activate your iPhone again.
FAQs
To prevent your iPhone from getting relocked again, ensure that automatic iOS updates are turned off until you can confirm that the jailbreak tool you’re using supports it. You should also disable automatic carrier settings updates in settings. Moreover, keep your jailbreak tool and unlock software easily accessible if they need to be used again.
- Change your root password if the tool you used allows it.
- Install and use a firewall app to monitor outgoing connections and check for any unrecognized requests.
- Only install apps, themes, and other improvements from verified repositories.
- Uninstall jailbreak tweaks that are unused on your device.
Conclusion
As you can see, jailbreaking can be a very complicated procedure without the right tools, especially if you don’t have the experience of doing so. If you want a simple, quick, and efficient solution to jailbreak your iPhone and unlock any carrier restrictions, you can’t go wrong with Passixer iPhone Unlocker. Try it out today for a seamless carrier unlock experience right away!